|
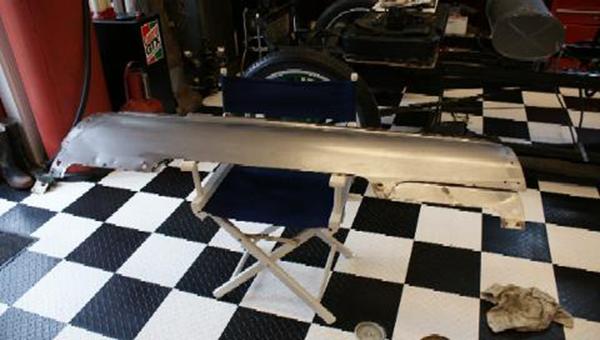
Splash aprons stripped and ready for paint/primer. |

|
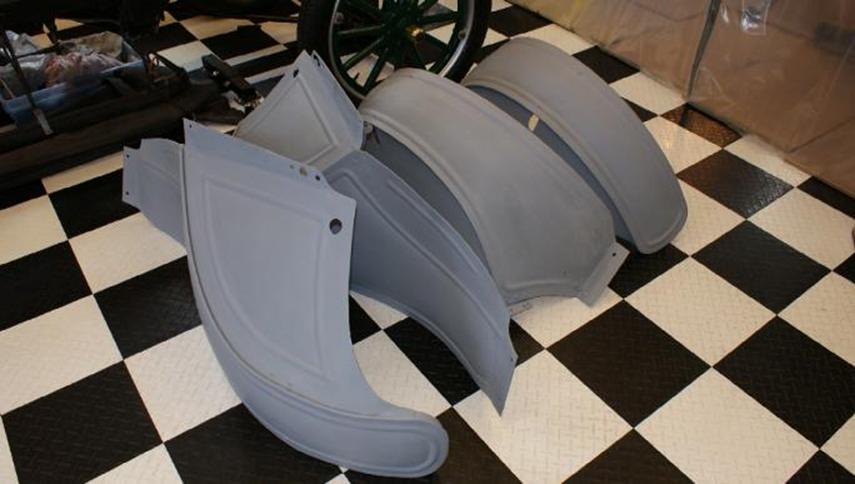
Fenders / hood ready for etching primer |
|
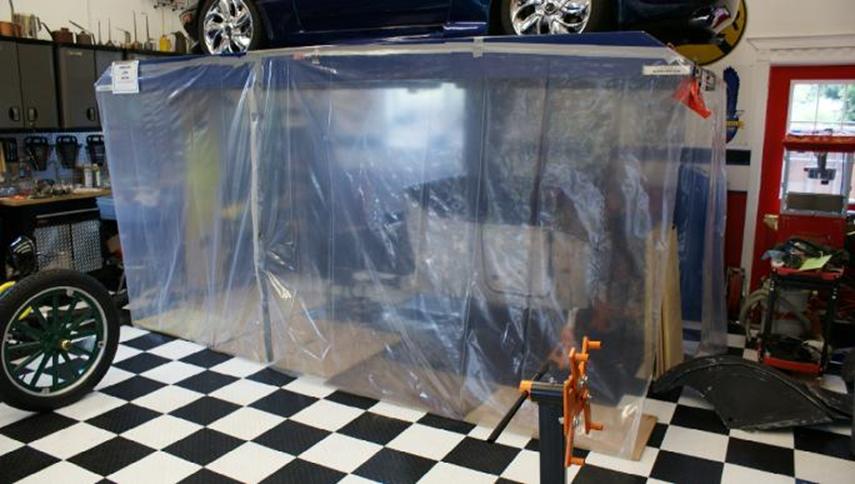
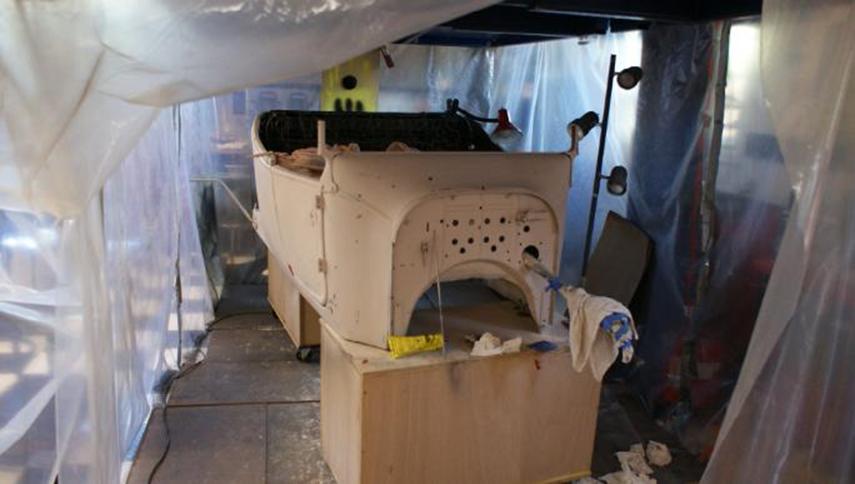
Plastic cocoon (Spray booth) almost ready to go. |

|
Primer application: 1 coat etching primer followed by a coat of lacquer base primer, followed by finish filling and sanding, followed by a second coat of base primer and that sanded to 600 grit. |
|
4/29/2009 Fenders ready for black lacquer (out of picture are the splash aprons and running boards, also ready for lacquer) Will start applying the lacquer tomorrow 4/30/09. With the limited space in the “spray booth” this should take about 2 days. I can only do one part at a time and there will be multiple coats applied, usually about 1 every 10 minutes so about 2 hours for 12 /13coats. Lots of time involved, but the end result should be worth it. |
|
5/3/2009 Change in plans!! Ran into some problems with the planned lacquer finish, so I have decided against using it and have switched to a basecoat/clearcoat finish. While more expensive and labor intense, this is a more modern paint application and far more durable than the lacquer. Very shinny as well. :). |

|
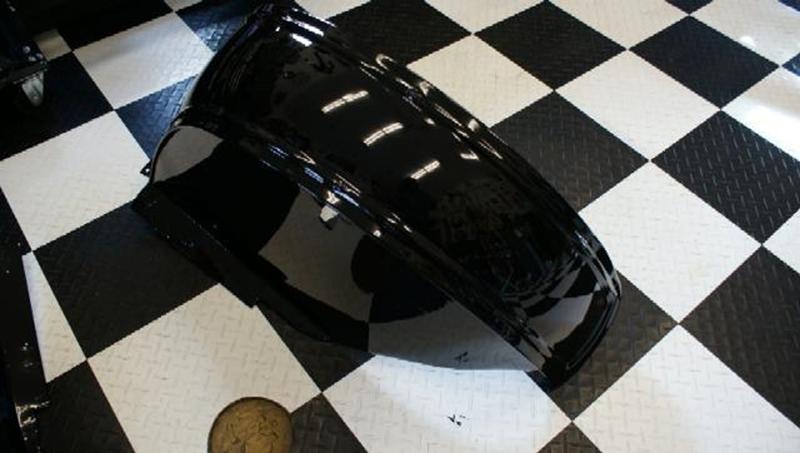
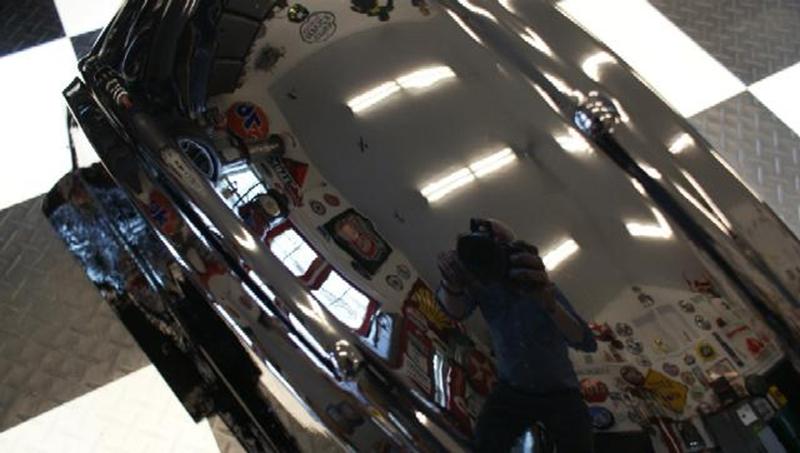
Above is the rear fender with lacquer. Below is the same fender after basecoat and 3 coats of clear. |
|
Below is a close up of the above fender. Note the reflections. |
|
While not perfect, there are some imperfections in the body panels I can paint, but bodywork is not my bag. This is a huge improvement over what this car was and even much better than most model T’s. It won’t win best of class in a car show, but it will outclass almost any other street driven T. |
|
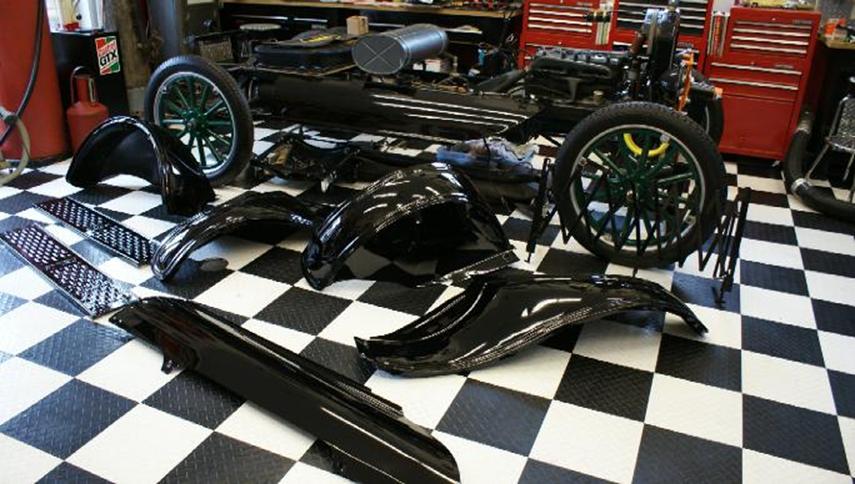
5/5/2009 Below, all of the black parts are painted (basecoat/clearcoat). 4 fenders, 2 running boards, 2 splask aprons and one luggage rack. |
|
Next up is the body. |
|
5/9/2009 Body (including interior) has been primed and wet sanded. Detailed cleaning will take place today and hopefully the green basecoat and clear top coats will go on this afternoon. There is still the headlights, radiator cover and hood to deal with. |
|
Once the body is dry and buffed, it can be reattached to the frame. Then the upholstery and floorboards will be installed, followed by installation of the top. When all that is done, the fenders, headlights, radiator and hood will be installed will be reinstalled, Next will be a complete re-wiring of the electrical and then start her up (2/3 weeks). |